
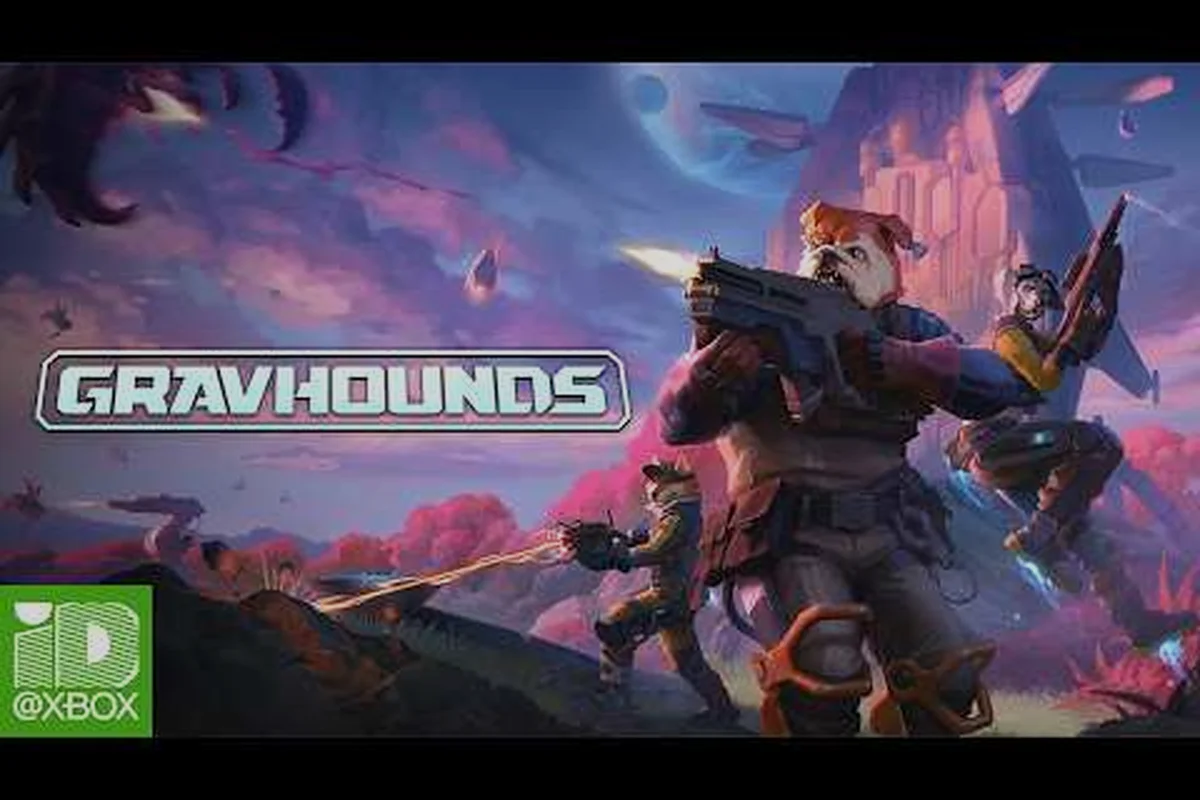
Swarm encounters punish reckless advances in GRAVHOUNDS, making careful positioning and escape timing essential for survival. These gravhounds swarm tips help solo crews and teams control crowds, protect their base, and extract with fewer losses. Use sightlines to identify when gravhounds begin surrounding a target, then reposition before their attack cycle closes the escape route; for example, kiting a pack around a wide obstacle can preserve mobility, while clustering in a narrow corridor can trap both solo fighters and team members. In team play, stagger rotations so one player draws aggro while another creates space, rather than having every teammate fire at once and pull the swarm into an unrecoverable formation.
GRAVHOUNDS Swarm Fundamentals and Threat Patterns
A swarm is rarely one massive target; it is a chain of smaller threats that become dangerous when each new arrival reinforces the previous one. The best response depends on whether you are crossing open ground, holding a position, or preparing to move valuable cargo. Treating every encounter as a straight-line shootout usually removes your ability to retreat, reload, or support a teammate.
Player experience suggests that the most reliable combat rhythm is short engagement bursts. Commit to a target, create distance, reposition, and then reassess the group rather than remaining in one exposed lane. This method works because GRAVHOUNDS is built around fragile moments between pressure windows, and a player who keeps moving can often prevent several enemies from focusing on the same weak point.
Reading Group Size Before Committing
Look for the shape of the group, not merely the nearest enemy. A compact cluster suggests pressure is building, while enemies approaching from separate angles indicate a possible flank. If the nearest target is easy to eliminate but others continue closing, ignore the temptation to finish everything immediately. Your route through the encounter matters more than the first elimination.
| Swarm Pattern | Main Risk | Safer Response |
|---|---|---|
| Tight cluster | Stacking and focus fire | Kill the closest threat, then create space |
| Wide spread | Flanking and missed targets | Secure the front while watching side angles |
| Repeated arrivals | Attrition | Break contact after a limited burst |
| Retreat toward cover | Chasing into a trap | Hold position or use a controlled escape |
The central principle is threat priority over target priority: a dangerous unit that can interrupt you may matter more than a weak unit that merely occupies space. Against a GRAVHOUNDS swarm, a ranged attacker, charger, or close-range specialist can dictate the entire encounter, so disable it before chasing distant stragglers. This matters most when ammunition, healing, or stamina is limited, because spending every resource on a harmless target can leave you exposed to the unit that actually forces movement.
Build the Fight Around Distance
Distance gives you time to identify an opening, reposition, and observe how the swarm reacts. A chase changes that relationship because it allows additional enemies to enter the fight without requiring the original group to overcome your defenses. Instead, make the swarm cross a controlled area where your strongest attacks can land without exposing your back.
For broader preparation, the solo guide for GRAVHOUNDS can help you reduce mistakes before entering a crowded encounter. The central focus remains the same: arrive with enough capacity to disengage, because winning every exchange is less important than completing the run without a collapse.
Solo Swarm Tactics for Controlled Survival
Learning how to fight a swarm alone begins with accepting that a clean retreat is a valid tactical result. Solo players do not need to clear every group they encounter. Saving health, ammunition, and cargo often creates a better outcome than turning a manageable ambush into a resource crisis.
Before engaging, identify the nearby space. Walls, turns, narrow paths, and elevated positions can slow enemies and reduce the number that can attack at once. If the route offers several approaches, choose the one that keeps your exit behind you. Position is most valuable when it allows you to leave without passing through the center of the group.
Choose a Deliberate Solo Engagement
A controlled solo fight has three phases: identify, burst, and reset. During identification, watch which enemy reaches the group first and which movement draws its attention. During the burst, focus enough damage to remove an immediate threat rather than chasing every target. During the reset, move to another angle, recover resources, and wait for the formation to change.
| Phase | Primary Goal | Common Mistake | Better Decision |
|---|---|---|---|
| Identify | Locate the first threat and exit route | Attacking the closest target automatically | Watch for danger priority |
| Burst | Reduce immediate pressure | Chasing the last visible enemy | Stop after useful damage |
| Reset | Reopen distance and recover | Continuing without a pause | Reload, heal, or relocate |
| Exit | Leave without a costly reversal | Fighting from the center | Move along the perimeter |
This is the foundation for understanding a solo versus swarm situation. The player is not trying to outlast the group through raw durability; they are trying to make every shot alter the encounter. A fight that consumes many resources while revealing little information is usually a poor exchange.
Keep an Escape Inventory
Reserve enough healing, ammunition, or mobility to handle one mistake. If every healing item is consumed during the opening exchange, even a successful fight can leave you stranded before extraction. Treat the emergency reserve as part of the encounter budget, not as optional comfort.
Community reports frequently distinguish between players who win individual fights and players who complete long runs. The latter group preserves recovery resources, avoids unnecessary pursuit, and uses early engagements to learn enemy behavior. Those habits remain useful even when a later build changes.
Co-op Swarm Roles and Team Timing
A co-op squad has a major advantage: one player can apply pressure while another protects the rear. The drawback is that grouped players may attract more attention and spread their damage inefficiently. Role separation keeps that advantage useful without turning every encounter into an accidental pile-on.
Before a team enters a swarm, assign temporary responsibilities: point pressure, rear guard, objective support, and fallback protection. These roles can rotate, but one player should not automatically handle every task. A simple call-out system covered in the GRAVHOUNDS teamwork guide can prevent several teammates from attacking the same target while another direction receives no attention.
Divide Attention Instead of Sharing It
Co-op is strongest when each teammate contributes a different function. One player can focus on the closest enemy, another can watch flanks, and a third can protect the objective or extraction route. The key is not permanent class assignment; it is clear responsibility during each pressure phase.
| Team Function | Primary Task | Best Moment to Act | Avoid |
|---|---|---|---|
| Point pressure | Reduce the nearest threat | Before the group reaches cover | Rushing beyond support range |
| Rear guard | Monitor flanks and stragglers | When the team pauses or reloads | Leaving to collect every enemy |
| Objective support | Protect cargo and extraction access | During repositioning | Splitting away with no cover |
| Fallback protection | Create a retreat window | After a failed push | Spending every resource immediately |
A strong team swarm strategy assigns clear priorities before pressure arrives. If the team is carrying cargo, the fallback player protects the item first and fights second. If no objective requires defense, the team can use a staggered formation rather than stacking in one corridor.
Use Staggered Movement
Staggering prevents all players from entering the danger area at once. The point player draws the first reaction, the rear guard waits for the formation to commit, and the support player occupies a useful side angle. This creates layers of pressure instead of one oversized target.
The team should disengage when its original formation breaks. If the point player is flanked, the rear guard covers the correction rather than rushing to the same location. This layered response is easier to execute than a sudden collective retreat and can prevent a small swarm from surrounding the whole squad.
Best Defense Against Swarm Attacks at the Base
Base defense rewards preparation because attackers meet controlled approaches rather than wandering directly into your equipment. The gravhounds best defense against swarm is therefore not a single wall or weapon; it is a system that slows the first arrival, concentrates damage, and preserves a recovery area behind the active line.
A good defense has depth. The outer position buys time, the central position handles priority targets, and the inner position protects supplies or extraction. If every defense depends on one opening, a group that breaks through immediately can turn a controlled fight into a base loss.
Layer Defenses Instead of Creating One Barrier
One strong obstacle can be bypassed or overwhelmed. Layered defenses make the swarm follow predictable routes and reduce the number of enemies able to attack simultaneously. The exact construction options vary as the game develops, but the tactical principle remains stable: shape the approach, then support the choke point.
| Defense Layer | Purpose | Swarm Effect | Positioning Rule |
|---|---|---|---|
| Outer barrier | Slows the first contact | Reduces approach speed | Leave room for ranged support |
| Central firing lane | Concentrates attacks | Limits simultaneous attackers | Keep alternate exits open |
| Inner reserve | Protects supplies | Provides recovery space | Do not store everything there |
| Repair access | Supports maintenance | Limits damage accumulation | Keep it behind safer positions |
If you are still deciding what to construct, the base building guide for GRAVHOUNDS provides a practical starting point for defense priorities. Avoid spreading resources across too many unrelated structures; a compact defense is often easier to reinforce and maintain.
Reserve a Repositioning Lane
Even a strong perimeter should include a route for the defender to move behind the front line. Swarms can exploit repeated patterns, so the same firing point should not remain occupied throughout the attack. A reserve lane lets you rotate, collect ammunition, or intercept enemies that reach the inner layer.
Watch the group rather than only the breach point. If enemies split, your defense should follow the threat with the greatest access to the objective. One player can continue applying pressure at the entrance while another handles the breach, but neither should abandon the safe interior completely.
Swarm Strategy for Different Run Phases
Early, middle, and late portions of a run demand different levels of caution. The early phase favors learning and controlled experiments, while the late phase calls for strict resource limits. Those differences are especially relevant when a squad has already secured valuable cargo or completed part of its objective.
Early Runs: Gather Information
Early encounters are useful for learning enemy movement, attack timing, and sound cues without risking a heavily invested loadout. Make a small test engagement, observe how the group converges, and withdraw after gathering the needed information. This approach supports the broader gravhounds swarm strategies because it turns each contact into information rather than treating every win as required.
| Run Phase | Main Priority | Recommended Contact | Resource Rule |
|---|---|---|---|
| Early | Learn enemy behavior | One controlled burst | Keep most reserves intact |
| Middle | Balance progress and risk | Selective engagements | Set a stop-loss threshold |
| Late | Protect valuable cargo | Avoid unnecessary contact | Treat every resource as final |
Late Runs: Protect the Haul
When the objective or cargo makes retreat expensive, change the plan before the swarm arrives. Choose routes with more space, avoid narrow shortcuts, and make every engagement from a defensible angle. A team should agree on whether the goal is to clear the route, slow it, or bypass it entirely.
For a solo player, this means resisting the idea that every discovered group must be eliminated. Sometimes the best move is to take an alternative route or preserve a wider margin for recovery. A successful extraction remains more valuable than a temporary combat advantage.
Recovery After a Costly Fight
After a difficult encounter, resist immediately engaging the next group. Restore your condition, inspect your route, and identify what created the pressure. A swarm that arrives from behind may indicate poor scouting, while a frontal group may simply require a different approach angle.
The strongest response to repeated pressure is often a change in plan, not an immediate increase in aggression. If a solo gravhound is already trading hits against multiple swarm units, disengage before condition and stamina become a larger liability; refill, reposition to break their firing angles, and re-enter the route only after the pursuit has loosened. For example, moving across the route to create distance is safer than firing into a cluster while backing away, because the latter lets the swarm preserve its focus. This preserves the difference between a difficult fight and a losing run.
Advanced Positioning and Resource Discipline
Advanced swarm control is built around predictable sequence breaking. Enemies may reward routine, but players can change the encounter by moving between cover points, switching targets, and using the environment to limit simultaneous pressure. The goal is not perfect prediction; it is enough consistency to create a favorable moment.
Track your recent pattern. If you always stop at the same junction, fight at the same distance, and then move in the same direction, enemies can gather around those predictable endpoints. Changing only one element—such as the route taken after the fight—can reduce pressure without requiring new equipment or a risky detour.
Decide When a Fight Is No Longer Worth Taking
Set a clear limit before entering danger. It might be a low health percentage, limited ammunition, a missing teammate, or an objective that cannot be abandoned. These thresholds work because they replace a pressured judgment with a rule created before emotions and enemy numbers dominate the decision.
| Stop Condition | Why It Works | Best Action |
|---|---|---|
| Health too low for one mistake | Preserves the chance of extraction | Break contact and recover |
| Ammunition nearly exhausted | Prevents a forced empty fight | Reposition and refill |
| Teammate separated | Avoids dividing the squad | Pause, regroup, reassess |
| Objective exposed | Limits the cost of a defeat | Return to the objective first |
| Route becomes crowded | Reduces the value of pushing | Find an alternate path |
Keep Every Resource Purposeful
Do not spend a full magazine simply because targets are available. Reserve emergency use for a threat that blocks escape, defeats an objective, or could trigger a worse cascade if left unchecked. Otherwise, target selection should favor efficiency rather than visible damage.
This discipline also improves the broader gravhounds swarm tips you apply across different builds. A strong setup cannot compensate for entering every encounter with no margin, and a precise shot does not help if it exposes the only route back.
Review Each Failed Encounter
Treat every loss as a planning problem. Identify the first point where control changed, not merely the final attack that finished you. Did the fight begin without an exit, did the team spread too widely, or did a fallback player spend healing too early?
Record one correction for the next attempt and test only that change. This makes improvement measurable while keeping the run manageable. Community experience is useful here because player-reported patterns often reveal simple corrections, such as rotating firing positions or preserving a dedicated recovery reserve.
Frequently Asked Questions
Can a solo player defeat a large swarm in GRAVHOUNDS?
A solo player can defeat some swarms, but success depends on space, enemy behavior, and available resources rather than raw damage alone. Engage in short bursts, protect an escape route, and retreat when the group begins surrounding you. A disciplined fight can produce a better run than a complete but costly victory.
What is the safest way to handle swarms with a co-op team?
The safest approach is to assign point pressure, rear watch, objective support, and fallback protection before entering danger. Stagger the squad so enemies arrive in layers instead of surrounding everyone simultaneously. If the formation breaks, the rear player should create a retreat window while the rest of the group restores cohesion.
Should a team always kill every enemy before moving?
No. A team should kill enemies when doing so protects the route, objective, or extraction, but it should break contact when the cost exceeds the benefit. Leaving a distant group alone is safer than scattering the squad to collect every straggler, especially when valuable cargo or limited recovery resources are at stake.
How can I defend a base without spreading my defenses too thin?
Concentrate your layout around a controlled approach and create at least two defensive layers. Keep a central position for priority targets, preserve a safe interior for supplies, and leave room to reposition when enemies begin concentrating. A compact, supported defense is generally easier to maintain than many isolated obstacles.