
Guides
GRAVHOUNDS beginner guides and walkthroughs: learn the extraction loop, pick a Gravhound, take jobs, defend your base and escape with the best haul before the swarm escalates.
Introduction
The Guides hub collects everything a GRAVHOUNDS pilot needs before their first drop. Because the game launches into Early Access on November 2, 2026, our guides are written around official announcements, the free open demo and mechanism-level analysis rather than invented numbers. You will find first-session routes through the core loop — choose a Gravhound, accept a job, deploy to a hostile planet, stand up power and defenses, then extract before the swarm escalates. We also cover extraction timing, job quotas, solo versus co-op play and the differences between the October demo and the full Early Access build. Every guide marks what the developer has confirmed separate from community impressions.
GRAVHOUNDS Guide Types
| Guide Type | Focus | Best For |
|---|---|---|
| Beginner / First Drop | Pick a Gravhound, take a job, power up and extract | New pilots on their first session |
| Job & Quota Basics | How jobs work, quota expectations and rewards | Solo players learning the loop |
| Extraction & Risk-Reward | Swarm escalation curves, when to leave, haul math | Packs that stay too long |
| Demo vs Early Access | Demo scope, patches and launch differences | Players deciding what to try first |
Core Topics
Beginner Flow
First-hour checklist from your first Gravhound pick to a clean extract on the opening demo shift.
Job & Quota System
How job quotas put an expected output on every drop and shape the pacing of each shift.
Extraction Strategy
When to leave a planet and how to read the danger curve before the swarm decides for you.
Demo vs Early Access
What the October demo covers versus the full Early Access launch on November 2, 2026.
Controls & Settings
Keybinding, display settings and performance tips that make the demo build feel right before your first real shift.
Core Mechanics
The GRAVHOUNDS loop repeats across every shift: pick one of the four demo Gravhounds, take a job with a quota, and drop as a pack of up to four players onto a hostile world. On the surface you gather materials, place generators for power, deploy fabricators to craft equipment and stand up turrets on the swarm's approach lines. Pipelines carry power and resources across the terrain and double as your escape route. Danger is the real timer: the longer you stay, the larger and deadlier the incoming alien waves become. Extraction is the payoff — you leave with everything you can haul, and the risk-reward read is what separates clean runs from wipes. Guides walk through each stage with the demo's confirmed behavior so new pilots understand what to prioritize.
Advantages
GRAVHOUNDS guides on this wiki are written from verified sources: the official store description, the Early Access FAQ, the developer's public announcements and the demo build itself. We keep the game's core vocabulary intact — Gravhound, Grav Beam, job, quota, pipeline and extraction — so terminology stays consistent across every page. Mechanism-first writing means you learn why a build order works instead of memorizing a checklist, which matters a lot in a game where loadouts can be reshaped mid-shift. Because the game is pre-launch, we explicitly label community data instead of presenting guesses as facts. Finally, the hub is organized by search intent: beginners land on first-session steps, while experienced packs jump straight to extraction math and swarm escalation.
Challenges
The biggest weakness of any GRAVHOUNDS guide right now is the simple fact that the full game has not shipped. Specific values — material prices, wave compositions, exact roll chances or balance numbers — are community-reported or unknown, and several features exist only as roadmap promises. Our guides therefore avoid stating unconfirmed numbers and flag demo observations separately from confirmed mechanics. A second limitation is patch drift: Demo Patch 1 and future Early Access updates can change behavior faster than editors can update every page. Finally, the demo and the full EA build are different products — tricks that work in the two-solar-system demo may not survive the launch tuning. Read the Early Access hub alongside any guide before you plan around specific numbers.
Frequently Asked Questions
What should I do first in GRAVHOUNDS?+
Can I play GRAVHOUNDS solo?+
What exactly is the extraction loop?+
Quick Tips
Pick one Gravhound and learn its demo niche before your first real job. Swapping units every shift makes it harder to notice the loop's rhythm — job quotas, swarm escalation and extraction timing — because you are simultaneously learning new controls. One clean first run teaches more than three messy ones.
Place your generator and fabricator before you commit to turrets. Power comes first: an unpowered turret is just a paperweight while the swarm is walking past it. Power feeds every structure on the plan, so the generator is the first stone in the foundation of any serious base. A tiny settlement with power, one fabricator and two turrets survives longer than a grand blueprint with no electricity.
Call extraction when the swarm curve starts outpacing your upgrades. Watch the waves: the moment they get thicker faster than your turrets and loadout can answer, salvage time is over. Leaving slightly early with a full haul beats wiping at minute twenty with nothing, and a clean banked run quietly funds your next job and your next upgrade purchase.
Featured

GRAVHOUNDS gravhounds beginner guide: First Drop to Extraction
Master the gravhounds beginner guide with clear first-drop steps covering jobs, co-op bases, turret building, resources, and safe extraction.
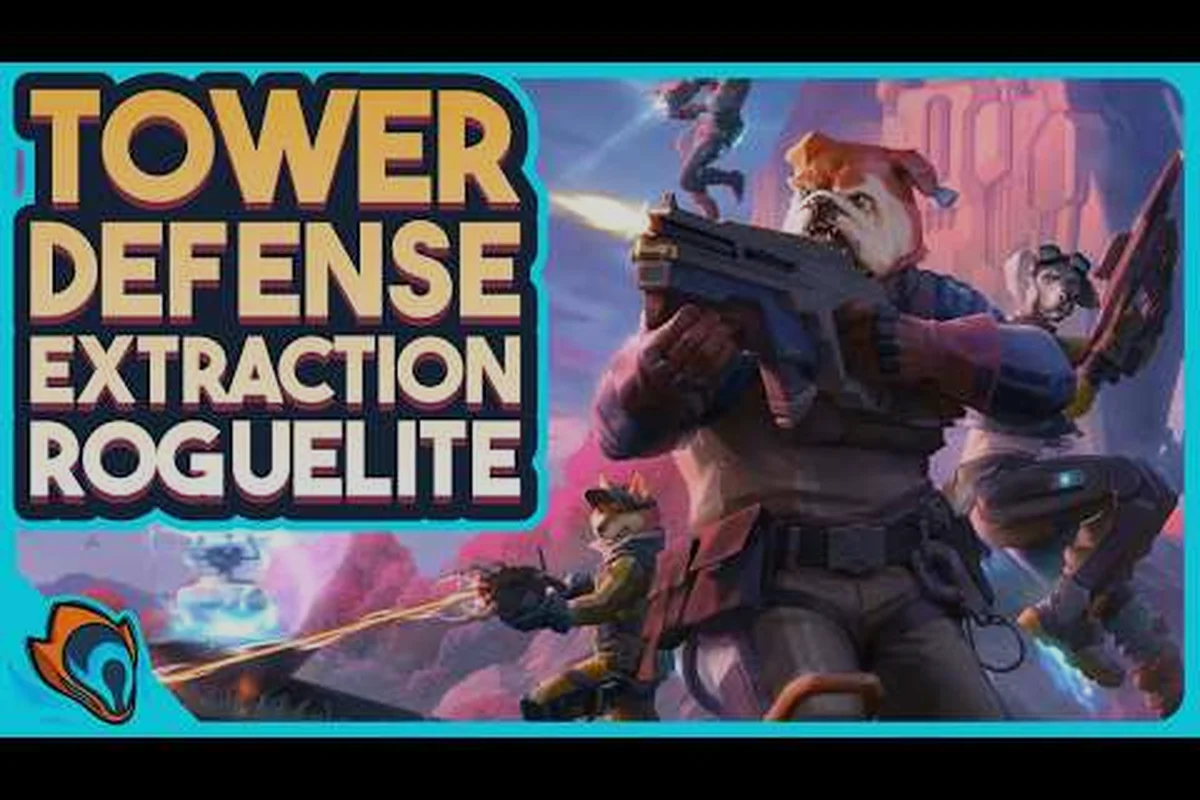
GRAVHOUNDS gravhounds game explained: Complete Survival Loop
Learn how GRAVHOUNDS works, from early jobs and exploration to base defense, extraction, and the survival decisions that shape every run.

GRAVHOUNDS gravhounds tips: Controls, Builds, and Survival
Learn gravhounds tips for mastering keybinds, controlling your pack, deploying turrets and pipelines, using Grav Beam combat, and extracting safely.
All Articles
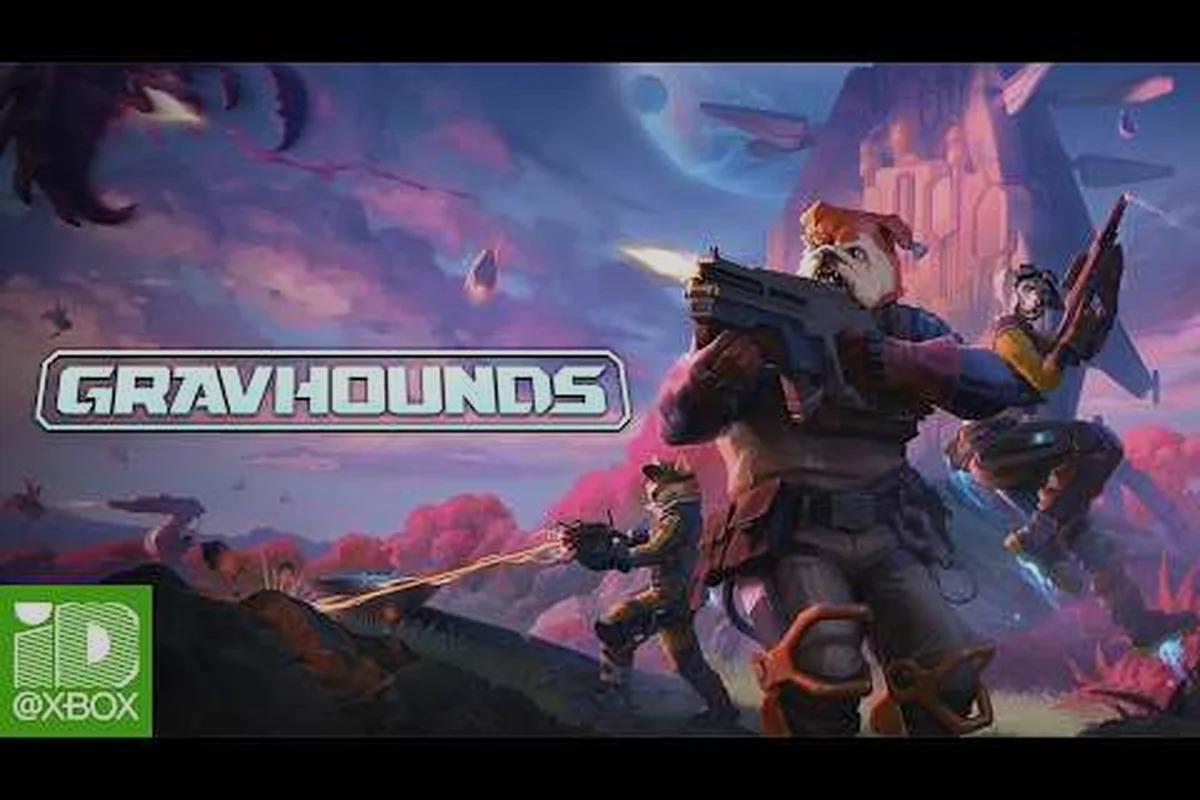
GRAVHOUNDS gravhounds how danger works: Timing Your Escape
Decode gravhounds how danger works, including escalating alien swarms, rising extraction pressure, and how to judge the safest time to leave.
GRAVHOUNDS gravhounds how to complete jobs: Quotas and Rewards
Complete gravhounds how to complete jobs by understanding quotas, choosing resources, protecting your operation, and extracting with enough loot.

GRAVHOUNDS gravhounds performance tips: Handle Maximum Difficulty
Apply gravhounds performance tips for smoother drops, stronger base layouts, smarter job choices, and better survival on the hardest difficulty settings.

GRAVHOUNDS gravhounds solo guide: Build, Fight, and Escape
Master the gravhounds solo guide with practical rules for handling jobs, base construction, resource runs, and extraction without teammates.
GRAVHOUNDS gravhounds what to do first: 5 Essential Moves
Start strong with five gravhounds what to do first priorities, from choosing a job and landing your pack to building defenses and timing your escape.

GRAVHOUNDS gravhounds how to get better: Sharpen Every Drop
Improve with gravhounds how to get better tactics that balance faster looting, stronger defenses, smarter extraction, and rising alien swarm pressure.
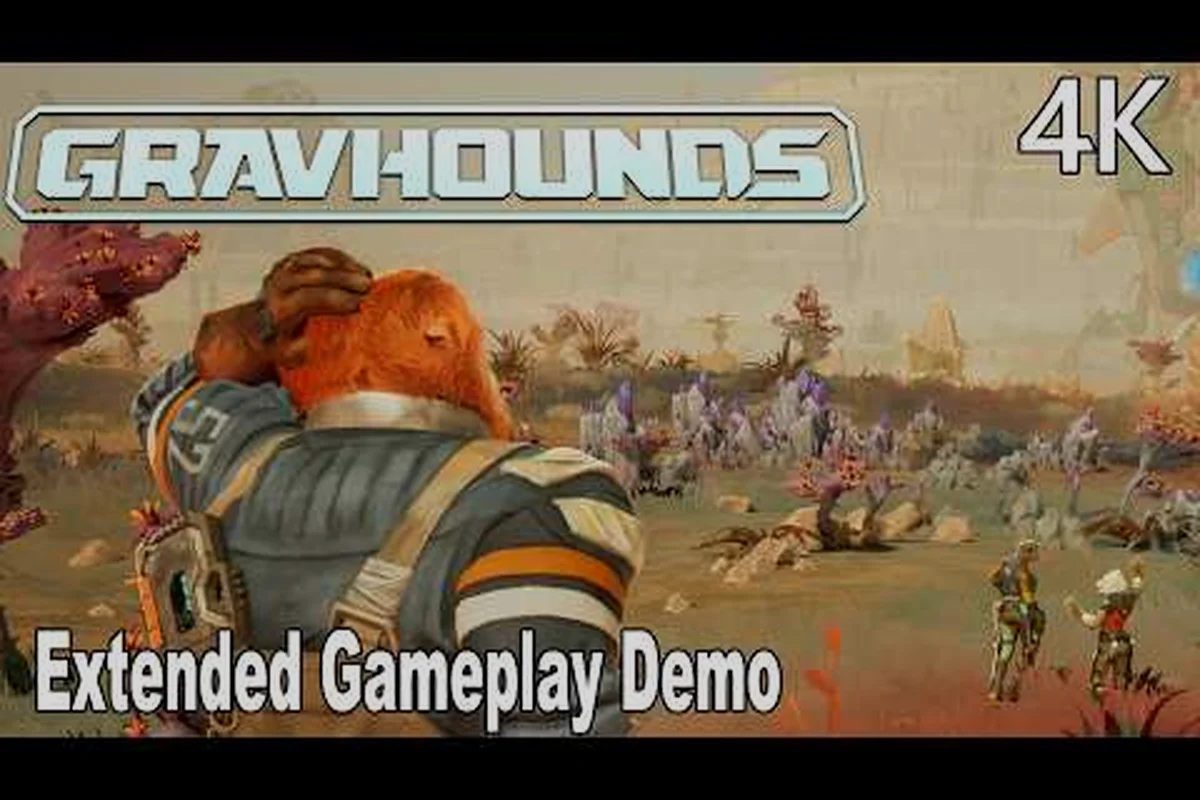
GRAVHOUNDS gravhounds demo how to play: Drop, Build, Extract
Learn gravhounds demo how to play with a practical route through landing, resource gathering, base defense, Grav Beam combat, and extraction.