
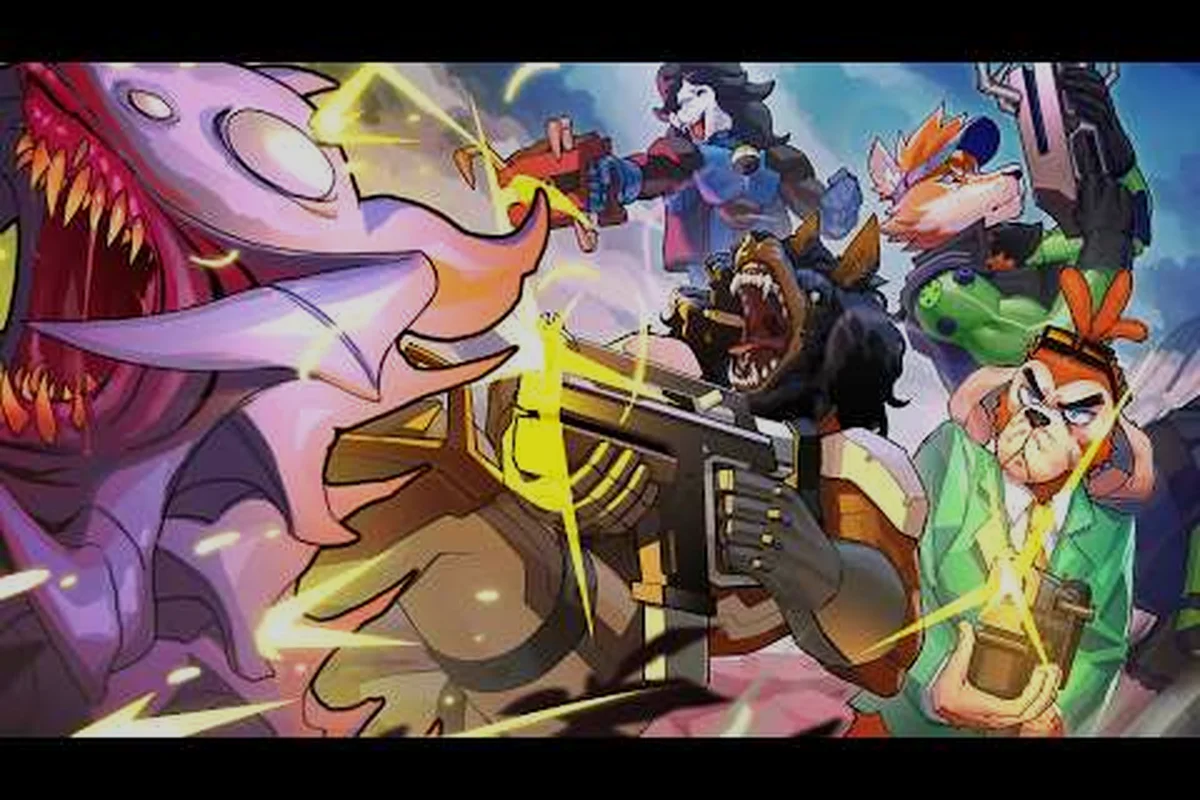
Surviving gravhounds defense waves requires more than firing continuously: you must read each attack pattern, protect your crew, and use terrain to control the swarm. The official gameplay overview shows GRAVHOUNDS built around fast movement and squad-focused action, making timing and positioning as important as raw firepower.
How GRAVHOUNDS Defense Waves Escalate
A successful defense begins before the first enemy appears. The key is to turn every wave into a repeatable sequence: identify the threat, establish a firing zone, thin the group with focused fire, then reposition before the next attack shifts direction. GRAVHOUNDS is a fast-moving extraction shooter, so stationary defense works only when you control where the enemies can reach you.
Player reports and community testing describe the swarm as an escalating pressure system rather than a single enemy type. Early opponents may be easier to eliminate individually, but later groups combine rushers, staggered arrivals, and enemies that exploit open ground. Understanding gravhounds enemy spawns is therefore essential if you want to survive beyond the opening encounter.
Recognizing a wave before it becomes a crisis
Every wave has a preparation phase. You may hear movement before enemies enter sight, or a quiet interval may precede a sudden rush. Treat these gaps as opportunities to collect ammunition, regroup, repair damaged equipment, and reposition your team. Chasing every visible target during this phase usually leaves the squad exposed when reinforcements arrive.
Watch the horizon rather than the center of the screen. A cluster emerging from one direction is manageable; enemies approaching from separated angles can split your attention and force the crew to turn repeatedly. Your strongest loadout will not fix poor spacing, so create at least one fallback position before a wave starts.
| Wave signal | Likely danger | Best response |
|---|---|---|
| One distant enemy appears | Scout or pressure unit | Focus it down before the main group arrives |
| Several enemies emerge together | Immediate swarm pressure | Use crowd control and layered fire |
| Movement on multiple sides | Flanking attempt | Rotate toward the nearest route and regroup |
| Brief lull before another push | Reinforcement window | Reload, recover, and choose a new firing lane |
| Enemy pressure slows suddenly | A dangerous unit entered the fight | Prioritize the high-threat target immediately |
The three-stage defense rhythm
A practical defense rhythm has three stages: prepare, commit, and reset. Preparation covers ammunition, sight lines, and squad positions. Commitment happens when the team agrees on a target order rather than firing at whatever moves. Reset occurs after the last enemy falls, during which the crew restores control before the next wave begins.
This rhythm prevents the common mistake of treating every fight as one continuous battle. GRAVHOUNDS enemy difficulty can increase even when a single opponent does not look especially powerful, because several weak enemies can remove space, expose the squad, and interrupt reloads. A reset period is what keeps those interruptions from becoming a collapse.
Enemy Behavior Patterns and Priority Targets
Reading GRAVHOUNDS enemy behavior is about noticing what an enemy does before it reaches your position. The useful cues are movement direction, spacing, and whether the target continues straight toward a crew member or briefly changes course. These signals reveal whether the group is advancing normally, trying to surround the team, or saving movement for a closing attack.
The broader overview of GRAVHOUNDS enemy types can help with visual recognition, but behavior matters more than appearance during a crowded defense. A large enemy standing at the rear may be less urgent than a fast attacker cutting off your route. A small group moving in formation may be more dangerous than several scattered units.
Choosing targets by threat rather than proximity
The nearest enemy is not always the correct target. Use a three-part priority order: immediate attackers that can reach the crew, ranged or support enemies that weaken the team, and ordinary units that can be handled by the group. If several enemies appear equally close, prefer the one that threatens your squad's position or blocks a safe route.
| Priority | Enemy situation | Why it matters | Practical counter |
|---|---|---|---|
| 1 | Enemy already attacking or flanking | Can damage the crew and restrict movement | Interrupt or eliminate immediately |
| 2 | Enemy targeting one isolated teammate | Splits the squad and creates a local crisis | Move together and focus the target |
| 3 | Group approaching in a tight formation | Concentration of pressure | Slow the group before firing in bulk |
| 4 | Distant or wandering unit | Lower immediate threat | Handle after closer threats are controlled |
| 5 | Already staggered or separated | Easier to finish | Use for ammo-efficient cleanup |
Turning enemy behavior into useful spacing
Fighters who struggle against the swarm often keep their attention on the nearest target and drift backward under pressure. That movement can pull them away from teammates and into open terrain. Instead, maintain a compact firing envelope: enough separation for movement, but close enough that support can reach you within a few seconds.
When enemies spread out, widen your formation slightly and use angles to cover two lanes. When they bunch together, concentrate fire rather than spreading damage evenly. The swarm composition analysis is useful for understanding why some groups feel more aggressive, but the real test is how the formation changes while you are fighting it.
Weapons, Counters, and Sustainable Damage
There is no universal best weapon for every wave. The most reliable setup is one that can answer both single targets and clustered enemies without exhausting ammunition. A strong burst weapon may punish a dangerous attacker, while crowd-control tools can create enough space for the rest of the squad to operate.
Focus on three functions instead of exact loadout names, because weapon availability can change with balancing updates: single-target pressure, grouped damage, and mobility support. At least one squad member should preserve mobility because staying in a good position is often more valuable than securing another elimination.
| Damage function | Best use | Failure risk | Better practice |
|---|---|---|---|
| Single-target pressure | Dangerous attackers and flankers | Wasted damage against a large group | Reserve for priority targets |
| Grouped damage | Dense formations and rear packs | Overheating without eliminating threats | Fire in controlled bursts |
| Crowd control | Restoring distance and passage | Control expires while team stands still | Push forward after creating space |
| Sustained pressure | Mid-range engagements | Ammunition runs low | Choose fights that end quickly |
| Mobility support | Repositioning around an attack | Team remains bunched together | Move as a coordinated unit |
Focusing fire without wasting it
The most efficient way to clear enemies is usually to reduce the number of decisions the squad must make. When a dangerous target enters the fight, agree on one marker and concentrate damage until it falls. Only resume general fire when the immediate threat is gone. This reduces wasted shots and prevents one enemy from reaching the rear while everyone fires elsewhere.
For groups, create a priority wedge. Pick the closest cluster, establish a line where its members will meet your crew, and collapse that cluster before dealing with stragglers. A smaller number of controlled engagements is easier to survive than a constant attempt to hit every enemy at once.
Managing ammunition and recovery
Every defense should include a recovery plan. Carry enough ammunition for a mistake, but do not rely on unlimited reserves. Retreat to a safer firing position before an engagement if the magazine is nearly empty, especially when the swarm is approaching from more than one direction.
Watch the squad's health as a collective resource. One player at low health cannot simply be ignored, because the enemy gains a weak point and the remaining crew receives more pressure. Move that player toward safety while the others create distance. This prevents a single wound from becoming the reason the whole defense collapses.
Positioning and Crew Tactics During Attacks
Positioning determines how much damage your weapons can deliver. A good location offers a clear approach lane, nearby cover, and enough room to avoid being surrounded. The best firing position is rarely the one directly facing the enemy; it is often slightly off-center, with the squad prepared to rotate into a new lane.
For building-related preparation, the base defense and base building guide can help you think about entrance control, layered defenses, and safe fallback routes. The same principle applies in open terrain: use walls, terrain, or vehicle positions to reduce the number of directions from which enemies can arrive.
Protecting the extraction point
Your extraction point is valuable because it defines the win condition. Defend a broad area too early and the squad may expend resources on distant enemies. Instead, create a protected inner ring and a contested outer ring. The outer ring absorbs approaching threats, while the inner ring remains clear for reloads, rescues, and the final extraction sequence.
| Position | Strength | Risk | Best assignment |
|---|---|---|---|
| Inner ring near extraction | Short return path for the team | Can be surrounded if the outer ring fails | Support and extraction watch |
| Outer firing lane | Early damage and more warning time | Vulnerable to flankers | Mobile pressure team |
| Elevated or exposed angle | Long sight line | May separate the squad | Only with a clear escape route |
| Narrow passage | Natural choke point | Blocked by a single defeat | Close-range defender |
| Rear flank position | Covers crossfire | Extends reload and rescue time | Reserve or flexible role |
Handling a split attack
When the swarm divides, resist the urge to chase both groups. Identify which cluster can actually threaten the extraction point and commit the mobile portion of the squad to that route. The remaining team should hold the second route with area pressure, preventing the distant group from returning unopposed.
This approach takes discipline because the larger cluster attracts more attention. Yet the smaller cluster can become more dangerous if it reaches an exposed teammate. A good rule is to evaluate access, not size: the group with the cleaner route to your people or objective deserves priority.
Recovering from a bad position
If the squad becomes surrounded, do not continue rotating randomly. Create one clear corridor by focusing the nearest attackers, then move the rear units through it first. Once the formation is no longer compressed, spread out and rebuild the firing lanes. The enemy scaling guide is particularly helpful when deciding whether a broken formation can be restored or whether immediate extraction is safer.
A Repeatable Run Plan for Surviving the Swarm
Use a fixed preparation routine so every fight begins from the same baseline. This is especially helpful in GRAVHOUNDS, where exploration and resource collection can consume attention before combat begins. A successful player is not simply reacting to each threat; they arrive at every engagement with a defined plan.
Before the first wave
Begin by locating the extraction point, then identify two nearby firing positions. Check exits, elevation, and nearby cover. Gather ammunition, repair damaged equipment, and assign roles before enemies appear. Each teammate should know who handles immediate attackers and who protects the extraction route.
| Preparation step | Purpose | Failure signal |
|---|---|---|
| Locate extraction early | Establish the win condition | Team moves away from the objective |
| Choose two firing lanes | Avoid fighting from one exposed angle | Enemies reach from multiple sides |
| Assign priority roles | Reduce split attention | Multiple teammates attack different targets |
| Check ammunition | Prevent mid-wave shortages | Magazine empties during a critical push |
| Set a retreat point | Preserve cohesion during pressure | Squad members flee in different directions |
During each attack
Begin with the closest threatening enemy, then use grouped damage when a cluster forms. Keep the group close enough for support, and call for a rotation when the enemy reaches the flank. If the enemy behavior changes, adjust the target order rather than continuing the previous pattern automatically.
The practical test of a good defense is not the number of enemies defeated. It is whether the crew can answer the next wave without first spending a long period recovering. Players focused on surviving GRAVHOUNDS enemy difficulty benefit from ending each engagement with health, ammunition, and formation intact.
After the final enemy falls
Do not rush toward extraction immediately. Confirm that the area is clear, collect ammunition, revive or assist teammates, and check for delayed spawns. The quiet period after a wave can conceal another approaching group, so keep one player watching the likely entrance while the rest reorganize.
If you are unsure whether an area is safe, take a wider route rather than crossing the same exposed ground. The goal is to preserve the squad's condition for extraction, not to complete every optional objective. A cautious route after a difficult defense may be the difference between a successful run and a late collapse.
Adjusting to Unexpected Enemy Pressure
Even a sound plan can fail when enemies arrive from an unexpected direction or a dangerous target survives the first burst. The difference between a recoverable mistake and a failed defense is the response: immediately change the priority order, restore the firing lane, and avoid scattering the crew.
When a dangerous target survives
One player should continue focusing the target while others clear enemies threatening that player. This keeps the high-value objective from being ignored, but it also creates a vulnerable concentration. Move the focused-fire pair toward cover and do not let the rest of the squad follow into a congested position.
If the target repeatedly reaches the crew, stop trying to out-damage it at close range. Use distance, terrain, and movement to create another opening. A quick retreat is more efficient than allowing the enemy to damage the squad before it falls.
When the group becomes surrounded
Choose the nearest route out and stop shooting targets that cannot reach that route. This creates a temporary passage for the squad. Once the formation expands, restore priority targeting and place one player on the new flank. The crew should treat this as a planned rotation, not a panic retreat, because both members need to know the destination.
When extraction is threatened
If enemies are nearly at the objective, every resource serves the extraction point. Team members can create a screen while the extraction holder prepares. However, this should not become a default strategy. Delaying extraction for an extended fight may allow the swarm to escalate, so disengage when the pressure exceeds the remaining preparation time.
The official world premiere trailer also presents GRAVHOUNDS as a high-momentum extraction experience. That context supports a simple rule: combat should preserve your ability to move and extract, not simply maximize elimination totals.
Frequently Asked Questions
What is the best way to survive GRAVHOUNDS defense waves?
The best approach is to prepare two firing lanes, identify the extraction point early, and maintain a compact crew. Concentrate fire on immediate attackers, use crowd control on dense groups, and reset after each wave. Preserve ammunition and avoid chasing distant enemies that cannot threaten your objective.
How do I kill enemies without wasting ammunition in GRAVHOUNDS?
Assign priority targets before firing and reserve burst damage for groups that are approaching together. Do not shoot an isolated enemy if a more dangerous target is closing on the squad. Reload during the quiet interval, collect ammunition after safe waves, and stop wasting shots once a target is already staggered.
What is the best way to handle the swarm in GRAVHOUNDS?
Fight the swarm at a controlled distance instead of retreating across open ground. Pick one cluster, slow it with focused fire, and eliminate it before turning to another route. If the crew gets surrounded, create a clear corridor, move the exposed members through it, then rebuild the formation around cover.
Do enemy spawns always come from the same direction?
Enemy spawns should not be assumed to follow one route because the swarm is designed to encourage situational awareness. Watch several possible approaches, keep the extraction area protected, and assign one player to monitor a flank. If enemies spread across multiple directions, rotate toward the group with the safest route to your crew.
How can I tell when GRAVHOUNDS enemy difficulty is increasing?
Look for changes in group size, timing, and formation rather than a single strong enemy. A tighter formation, shorter gaps between attacks, or simultaneous pressure from separate lanes indicate escalation. Confirm whether the challenge comes from enemy strength or crowded positioning, then adjust your target order and firing distance accordingly.