
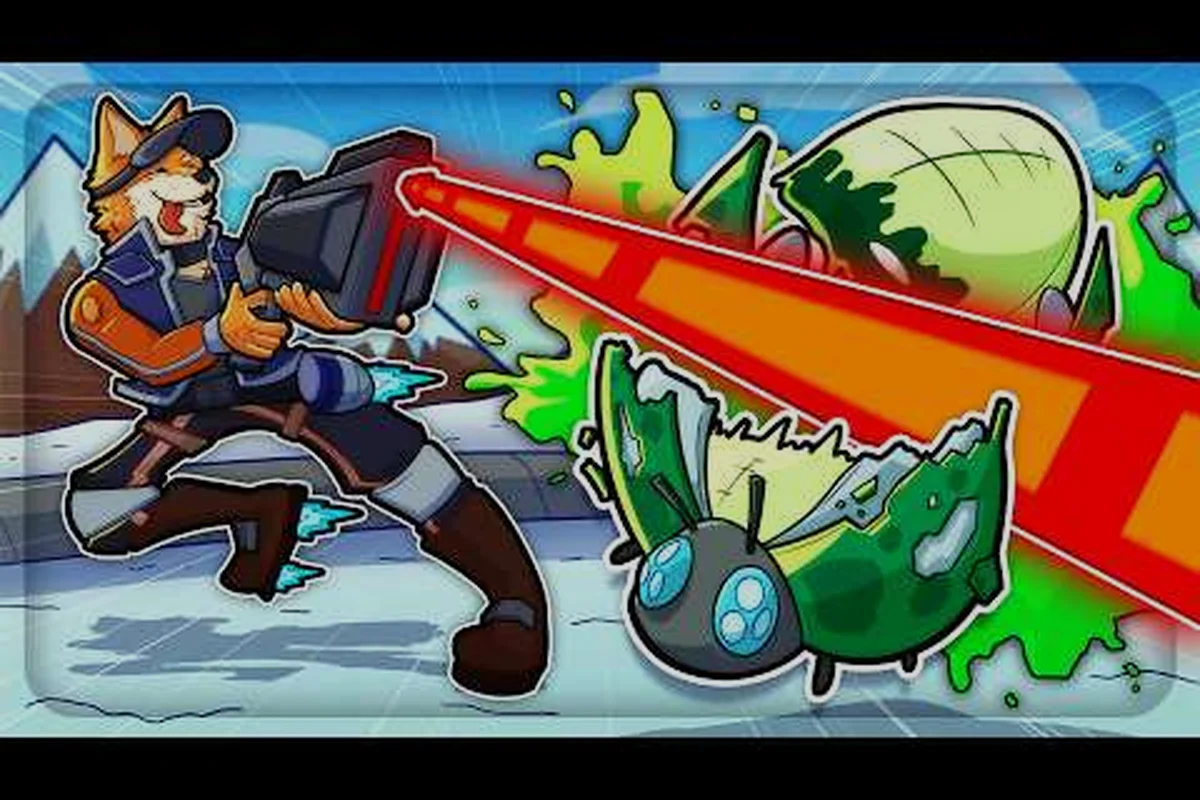
Ggravhounds swarm enemies become the defining pressure the longer a run lasts, turning short encounters into escalating tests of positioning, resource management, and extraction timing. Learn the patterns that shape each wave, then use that knowledge to survive the swarm instead of being overwhelmed by it.
How GRAVHOUNDS Swarm Enemies Create Run Pressure
The gravhounds swarm enemies are not a single disposable pack that can be ignored while the player gathers resources. They are a pressure system: their presence changes how long it is sensible to remain on a planet, which routes become safe, and when a routine extraction should begin. Understanding that role makes the difference between fighting continuously and choosing the right encounters.
Community reports describe the swarm as a set of enemies that becomes more dangerous through combined pressure rather than through one instantly overwhelming attack. That means the difficulty can rise without every new arrival being individually stronger. More bodies, tighter movement paths, less room to reposition, and fewer safe pauses often create the largest threat.
| Threat source | What changes | Practical response |
|---|---|---|
| More active enemies | Basic attacks take longer to resolve | Clear the nearest target first |
| More movement pressure | Open ground becomes less valuable | Use cover and controlled angles |
| Longer presence | Resources and recovery opportunities shrink | Set an extraction window |
| Stronger later groups | Older tactics may fail | Adapt the defensive plan |
This is why gravhounds swarm difficulty depends on more than an enemy’s health bar. A relatively weak enemy can become dangerous when it arrives at the moment the team is divided, reloading, carrying loot, or trying to move through a choke point. The real difficulty is often created by the interaction between enemy behavior and player positioning.
The official gameplay overview for GRAVHOUNDS shows the broader mix of planetary exploration, extraction pressure, and alien threats. That context matters because the swarm is not designed as a disconnected combat drill; it competes with the player’s need to investigate, collect, and leave before danger overtakes the run.
Reading Pressure Before You See a Full Pack
The early swarm read is often more valuable than a perfect damage estimate. Look for enemies approaching from multiple directions, listen for movement behind the team, and notice when a route stops being as quiet as it was during the initial landing. These signals suggest that the encounter may be expanding beyond the immediate visible area.
Players should also distinguish between pressure and escalation. Pressure is present when several enemies constrain movement. Escalation is present when the swarm adds stronger or more frequent threats. A careful run may contain plenty of pressure without allowing the situation to develop into full escalation.
GRAVHOUNDS Swarm Waves and Escalation Pattern
The gravhounds swarm waves create a rhythm of temporary control followed by renewed pressure. Defeating one group does not necessarily make a planet safe, because the useful question is whether the team has gained enough space, resources, and information to handle what comes next. A wave can be cleared and still leave the player in a poor position.
The core pattern is easier to understand as a cycle. First, the team gains control of its immediate area. Next, the swarm tests that control through increased activity. The team then either stabilizes the encounter, retreats to a stronger position, or withdraws from the planet. This cycle explains why passive survival often produces worse outcomes than deliberate extraction.
| Phase | Swarm state | Main risk | Strong response |
|---|---|---|---|
| First contact | Limited local pressure | Overextending while enemies close in | Establish a defensive anchor |
| Buildup | Additional groups appear | Splitting attention across targets | Prioritize the nearest threat |
| Escalation | Greater activity or tougher opposition | Loss of space and recovery time | Use consumables or extract |
| Collapse | Overlapping pressure | Retreat becomes difficult | Abort optional objectives |
| Recovery | Temporary control returns | Greed leads to another fight | Secure loot and reassess |
This model explains gravhounds swarm escalation without requiring an exact numerical formula. The intensity can rise because enemy count, behavior, and mission time reinforce one another. A run that begins with a clean landing can become dangerous even if the player never enters a visibly marked high-threat area.
Why Time Changes the Encounter
Time on a planet is the hidden multiplier in most swarm situations. Every minute spent collecting, repairing, searching, or fighting gives the encounter more opportunity to develop. This does not mean every extra second automatically creates a new wave, but it steadily reduces the margin for error.
Mission-time pressure is especially dangerous during quiet intervals. A lack of visible enemies can create false confidence, even though the team may be maintaining control only because it keeps moving. When the next wave begins, stamina may already be lower and recovery items may already be partly consumed.
A useful rule is to compare the value of remaining on the planet with the cost of a delayed extraction. If the next objective requires crossing the same difficult terrain again, only marginally increases the reward, and depends on sustained combat, the expected benefit may not justify the added danger.
What GRAVHOUNDS Swarm Scaling Actually Changes
The gravhounds swarm scaling explained in this guide focuses on practical consequences rather than an exact hidden multiplier. The available footage does not establish a publicly documented formula for enemy health, damage, or spawn counts, so players should treat precise numeric claims cautiously. The important pattern is that later pressure changes the number of tactical options available.
Scaling can affect several layers at once. Enemy quantity increases the attention required, tougher opponents reduce the time available for recovery, and faster repositioning narrows the space in which the team can regroup. These effects compound because a player dealing with one threat cannot freely ignore another.
| Scaling layer | What it changes | Why it matters |
|---|---|---|
| Enemy quantity | Number of simultaneous decisions | Makes target prioritization essential |
| Enemy durability | Time needed to remove a target | Reduces the window for repositioning |
| Aggression | Frequency and direction of attacks | Creates less predictable encounters |
| Reinforcement pressure | Time between periods of control | Encourages efficient extraction |
| Spatial pressure | Room available to maneuver | Makes terrain more important |
This is the core of gravhounds how the swarm works: the swarm changes the value of terrain, timing, and preparation. A route that looked generous during the landing can become poor after repeated movement. A defensive position with multiple exits becomes more valuable than an open area with abundant resources.
Quantity, Quality, and Control
Three forms of difficulty should be separated. Quantity pressure means more enemies must be handled. Quality pressure means the enemies create different tactical demands, such as demanding more attention or punishing a familiar position. Control pressure occurs when the enemy presence continuously restricts where the team can stand and move.
The most dangerous combinations involve two or three forms appearing together. Many weak enemies are manageable in an open area, while a smaller group of tougher opponents can be dangerous in a narrow corridor. Repeated waves are hardest when each success temporarily weakens the team’s ability to handle the next arrival.
For a broader breakdown of individual units, the GRAVHOUNDS enemies guide can help distinguish the larger enemy families that contribute to a swarm. That distinction matters because reacting to the nearest target is not always the same as reacting to the most dangerous one.
Practical Wave Defense Strategies for GRAVHOUNDS
A stable defense begins with a plan for what the team will do before the swarm fully arrives. Defensive intent means choosing a position, assigning responsibilities, and setting a limit for the engagement. Without those decisions, every incoming enemy can pull the team in a new direction.
First, select terrain with limited approaches and enough space to move laterally. A choke point without an escape route can become a trap, while a completely open field gives the swarm room to surround the team. The best position is not always the most defensible; it is the one that preserves control without requiring perfect accuracy.
Second, create target priorities. Incoming enemies should be handled in an agreed order, such as the nearest immediate threat, an enemy with a clear path to the team, or the unit that could interrupt healing and repositioning. Priorities become especially important when the gravhounds swarm difficulty shifts attention between several directions.
| Defense priority | Reason to target first | Risk of ignoring it |
|---|---|---|
| Nearest direct attacker | Prevents immediate damage | Team loses recovery time |
| Fast or flanking unit | Protects the rear and flanks | Surround becomes possible |
| Heavily armored unit | Stops repeated pressure from lasting | Other enemies gain attack time |
| Ranged enemy | Reduces incoming damage | Defensive position becomes untenable |
| Low-threat straggler | Cleans up an otherwise safe area | Distracts from the main threat |
Third, preserve an exit. This does not mean abandoning the objective at the first contact. Instead, the team should identify a route that remains usable if the encounter expands. Fallback positioning is valuable because it preserves the option to gather resources later instead of forcing an emergency retreat with limited information.
Building a Repeatable Defense Loop
A good defense loop consists of preparation, first contact, stabilization, and reassessment. Preparation includes checking the route, watching for movement, and choosing the engagement area. First contact should be handled before the swarm can establish multiple threats. Stabilization means restoring control rather than chasing every last enemy. Reassessment determines whether the team continues or extracts.
-
Prepare the ground: Choose a position with cover, clear sightlines, and a backup route.
-
Control first contact: Deal with the closest threat before distant groups can constrain the team.
-
Keep targets separated: Avoid standing where multiple enemies can converge on the same player.
-
Protect recovery time: Use the lull after a wave to reload, heal, and reposition instead of immediately exploring.
-
Set a stop condition: Leave when the remaining reward no longer compensates for the swarm’s current pressure.
The defense waves overview expands on the tactical side of clearing and holding ground. It is particularly useful when the main problem is not individual enemy strength but the number of threats arriving before the team can recover.
Handling the Late Run
Late-run decisions should be based on the condition of the team, not the greed of the remaining search. Ammunition, health, stamina, extraction readiness, and map position all influence whether another encounter is manageable. A player who can still function but has no safe route home is already carrying serious risk.
Extraction margin is the buffer between the team’s current state and the amount of pressure it can absorb before extraction becomes dangerously delayed. Keeping that buffer intact is often more valuable than completing one additional search.
The danger and extraction guide is useful for tying combat decisions to a broader risk budget. It helps frame the swarm as part of the entire planetary run rather than an isolated encounter that ends when the final enemy falls.
Common GRAVHOUNDS Swarm Mistakes and Better Responses
The most damaging mistake is treating every wave as a separate fight with the same rules. Early waves may reward aggression because the team has full resources and a wide field of view. Later waves punish extended commitment because the team has already spent ammunition and movement options.
| Common mistake | Why it fails | Better response |
|---|---|---|
| Chasing every enemy | Movement becomes reactive | Clear only targets that threaten control |
| Fighting at maximum range | Ammunition drains before the swarm is broken | Use the range that supports accurate shots |
| Ignoring the rear | Flanking attacks arrive without warning | Assign periodic rear checks |
| Treating silence as safety | Hidden pressure can develop unnoticed | Keep a move-or-extract plan |
| Delaying extraction | Each minute reduces the safety margin | Define a limit before the fight |
| Standing in the open | Multiple threats can converge | Use cover and lateral movement |
These mistakes are especially relevant to gravhounds wave defense because the swarm punishes indecision more than it punishes ordinary mistakes. A player may lose accuracy, make one poor target choice, or take avoidable damage and still recover. Repeated delay, however, compounds each error.
Defensive Depth Without Tunnel Vision
Players often swing between two extremes: holding a single position until it collapses or running constantly without establishing control. Defensive depth combines a protected main position with awareness of possible flanking routes. It also includes one fallback position where the team can regroup if the first line fails.
The practical test is simple: can the team identify where the next attack is likely to come from, and can it respond without crossing multiple enemy groups? If the answer is no, the team should move before the swarm surrounds it. This movement is not retreat in the strict sense; it is a planned reset that keeps the engagement controllable.
Similarly, avoid treating every distant enemy as an emergency. Some may be positional threats, but others may be distractions. The enemy scaling overview can help separate the dangerous attributes that justify immediate attention from threats that can wait until the nearer group is under control.
A Practical Plan for Surviving Increasing Swarm Pressure
The safest general strategy is to plan around the next escalation rather than the current victory. Wave readiness means preserving enough ammunition, recovery items, movement, and routing options to handle a new group after the present one has been cleared. A clean fight can still be a poor result if it leaves the team unable to respond to what follows.
A reliable run plan can be divided into four phases. The first is cautious contact, where the team identifies local threats and establishes a route. The second is controlled engagement, focused on removing immediate threats without scattering across the map. The third is consolidation, using the temporary lull to collect, repair, and decide whether the mission remains worthwhile. The fourth is extraction, executed before accumulated pressure makes the route unreliable.
| Run phase | Main objective | Swarm-aware decision |
|---|---|---|
| Cautious contact | Identify nearby threats | Avoid revealing the full team |
| Controlled engagement | Remove immediate danger | Keep the fight near chosen terrain |
| Consolidation | Gather and restore resources | Do not mistake quiet for safety |
| Escalation response | Stabilize or withdraw | Choose based on the safety margin |
| Extraction | Reach the exit safely | Leave before pressure peaks |
This plan also explains gravhounds swarm waves as a resource problem rather than simply a sequence of fights. Every wave consumes time and attention, while each successful defense can either strengthen the team’s position or weaken its ability to keep defending.
Choosing When to Continue or Withdraw
Continuation makes sense when the team has clear space, useful resources, a reliable extraction route, and enough combat capacity to handle another encounter. Withdrawal makes sense when the team is surrounded, the objective has poor expected value, or the route back is becoming less reliable than the route forward.
The decision should be made during a lull whenever possible. Deciding only after the swarm surrounds the team turns extraction into a reaction rather than a plan. Players can also use the demo extraction guide to connect their broader mission goals with the point at which further searching stops being worthwhile.
Final Preparation Check
Before pushing deeper, confirm that the team can still identify enemies, communicate priorities, and retreat through a known route. If those basics are compromised, another wave may be manageable in theory but dangerous in practice. Preparation should include both combat readiness and a clear understanding of the extraction route.
The best answer to rising swarm pressure is rarely to remain until every enemy is defeated. It is to recognize the shift early, preserve the team’s ability to act, and extract while the remaining journey still has more options. That principle is the core of gravhounds swarm scaling explained in practical terms: the swarm does not only threaten the player’s health; it gradually narrows the choices available for finishing the run.
Frequently Asked Questions
What are the gravhounds swarm enemies in GRAVHOUNDS?
The gravhounds swarm enemies are alien threats that build pressure through repeated encounters and changing movement patterns. Their danger depends on timing, enemy quantity, terrain, and the player’s remaining resources. Rather than relying on one definitive unit description, treat the swarm as a system that rewards target priority, defensive positioning, and timely extraction.
Does the GRAVHOUNDS swarm get harder the longer a run lasts?
Yes, longer planetary runs generally increase pressure because the player has less time, ammunition, recovery capacity, and safe space than at the start. Community reports support this escalating pattern, but they do not establish a single confirmed formula for enemy health or damage. Plan around the accumulating risk instead of assuming one exact numerical threshold.
What is the best way to handle GRAVHOUNDS swarm waves?
Choose defensible terrain, resolve the nearest meaningful threat first, and preserve a route that remains usable if the encounter expands. Avoid chasing distant enemies or splitting the team across separate groups. Once control is regained, use the brief lull to collect, heal, reload, and decide whether another encounter still offers enough value to justify the risk.
Should players extract immediately after defeating a large wave?
Not always, because a successful defense can create a useful recovery window. Extract immediately when the team lacks ammunition, health, stamina, or a reliable route, or when the remaining objective has little expected value. If resources and navigation remain stable, a short consolidation period may be safer than rushing onward while the team is still disorganized.
Can a prepared player defeat almost any GRAVHOUNDS swarm?
Preparation improves the odds, but it does not remove the escalating cost of staying on a planet. Favorable terrain, disciplined target selection, and recovery timing can make many encounters manageable, while poor positioning can turn a favorable start into a dangerous retreat. The most important preparation is deciding in advance when the remaining reward justifies continued exposure.