
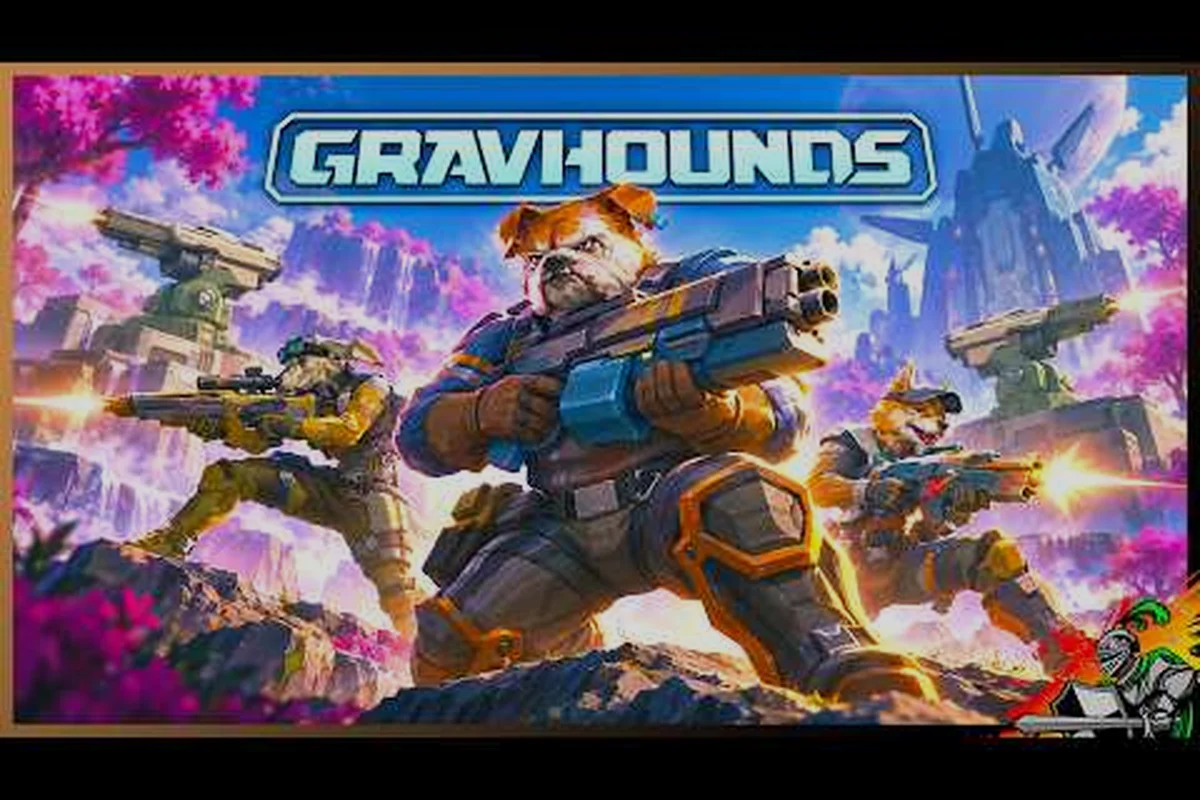
The gravhounds skill tree determines which upgrades you can carry into a shift, so learning its branches helps you turn weapon variety into a reliable build. Map the paths, test each reset, and shape a loadout around the missions ahead.
Reading the GRAVHOUNDS Skill Tree
The gravhounds skill tree is best understood as a set of upgrade paths rather than one straight line of bonuses. Each branch can shape how a weapon handles pressure, how a crew member contributes, and which combinations remain practical as encounters change. Because the best numerical choice depends on the mission, the key is to understand the system before committing scarce upgrade points.
The structure directly affects three decisions: which weapon you specialize in, how you distribute points across crew roles, and whether a specialist setup is worth more than a balanced one. A narrow path may produce stronger peak performance, while a broader setup can make repeated runs easier when different enemies demand different answers.
| Skill-tree choice | Main benefit | Best use | Main drawback |
|---|---|---|---|
| Focused branch | Stronger specialization | Repeated missions with a known objective | Less flexibility when a new threat appears |
| Balanced branch | More versatile performance | Mixed missions or new crews | Smaller advantage in any single category |
| Weapon-focused path | Better weapon handling and output | Players prioritizing personal damage | Can leave crew support underdeveloped |
| Crew-focused path | Stronger team utility | Coordinated groups and difficult encounters | Lower personal burst when solo |
| Hybrid path | Useful cross-role advantages | Long-term experimentation | Requires deliberate point allocation |
Upgrade nodes and practical priorities
An upgrade node is valuable only when it improves a situation you regularly encounter. Damage-related choices are immediately useful during a firefight, but mobility, ammunition efficiency, or survivability can prevent a failed attempt. Before spending points, identify the failure that happens most often: insufficient damage, awkward positioning, slow reloads, or a crew member being overwhelmed.
Peak damage is ideal when your crew already survives long enough to exploit attack windows. Sustained performance is more valuable when enemies arrive in groups, because a large opening hit can matter less than steady output and efficient follow-up attacks. The distinction prevents you from overvaluing a dramatic number that rarely gets used.
Compatibility comes before raw strength
A strong upgrade can still be a poor choice if it conflicts with the rest of the build. For example, a close-range weapon benefits less from bonuses designed for distant attacks, while a slow weapon may need more mobility than a rapid-fire option. Check the weapon’s firing pattern, effective range, reload behavior, and typical engagement distance before selecting a node.
The gravhounds weapon system explained in practice is therefore a comparison of roles rather than a simple tier ranking. A weapon that occupies the middle of the performance range can be the better centerpiece when its handling matches your route, accuracy, and crew composition. For a broader view of available choices, compare the GRAVHOUNDS weapon tier overview alongside your planned path.
Comparing GRAVHOUNDS Upgrade Paths
A useful upgrade path has a clear purpose, a measurable result, and little wasted investment. Comparing paths by their practical effect makes it easier to identify which tree supports your regular playstyle. Treat damage, handling, and survivability as separate goals rather than assuming that the largest displayed bonus is always the strongest contribution.
| Path objective | What to prioritize | Mission situation | Testing method |
|---|---|---|---|
| Faster clear speed | Damage, handling, reload efficiency | Timed or repeatable encounters | Compare completion time across several runs |
| Better close survival | Mobility, defensive value, close-range output | High-pressure targets | Check how often positioning breaks down |
| General-purpose crew | Balanced utility and cross-role bonuses | Varied mission types | Rotate weapons without rebuilding every time |
| Specialist experimentation | One weapon’s defining strengths | Side content or unlocked modes | Test against familiar reference enemies |
Weapon variety versus narrow specialization
Weapon variety gives you more ways to answer different encounter types, but it can divide your resources too thinly. If every weapon remains underpowered, switching will not solve the underlying problem. A reliable middle path is to maintain one dependable general-purpose option and develop a second weapon for a clearly different role.
This approach also makes experimentation safer. You can learn whether a ranged specialist adds enough value to the crew without committing every available point to that branch. Community reports commonly favor setups with a stable baseline and one experimental specialty, although exact performance can change as balancing updates arrive.
| Loadout model | Upgrade allocation | Strength | Risk |
|---|---|---|---|
| Generalist | Even spread across several useful nodes | Consistent across mission types | May lack a standout advantage |
| Dual specialist | One main weapon plus one situational weapon | Covers more enemy patterns | Requires attention to both paths |
| Full specialist | Heavy investment in one branch | Highest potential in one role | Performs poorly when the role is denied |
| Trial specialist | Temporary investment for testing | Low commitment | Slower progression if retained |
Reading the weapon variety around you
The practical value of weapon variety depends on unlock access and familiar handling. A rare weapon will not improve the crew if you cannot deploy it when its ideal situation appears. Compare the choices you can reliably carry with those you occasionally unlock, then use the latter to test ideas without disrupting a dependable setup.
The weapon variety and loadout progression guide can help identify which combinations are worth taking into a mission. A useful test asks three questions: Does the weapon solve a problem your current setup cannot? Can you operate it accurately? Does the upgrade path overlap with choices you already own?
Building a GRAVHOUNDS Mid Shift Loadout
A gravhounds mid shift loadout should balance immediate combat strength with enough flexibility to survive the later parts of a shift. Mid-shift is where preparedness matters because you may have less time to recover from an inefficient opening, and enemies or objectives can become less predictable. A balanced setup reduces the cost of one bad encounter while preserving a clear strength for the final encounter.
Start with the mission’s likely combat distance. Close-range pressure calls for mobility and repeatable hits, while distant targets reward accuracy and reload planning. Then add one defensive layer that supports your chosen weapon rather than a disconnected set of bonuses. The mid-shift upgrade reference is useful for comparing how specific weapon benefits affect a changing encounter pace.
| Mid-shift priority | Recommended loadout behavior | Reason |
|---|---|---|
| Unknown enemy pattern | Keep a versatile weapon and balanced upgrades | Reduces the cost of meeting an unfavorable matchup |
| Heavy enemy groups | Favor sustained damage and efficiency | Helps maintain pressure across several targets |
| Limited mobility space | Reduce reliance on long repositioning | Prevents wasted upgrades in cramped areas |
| Long or distant engagements | Improve accuracy and reload planning | Keeps attacks available during sustained pressure |
| High chance of failure | Add one survivability option | Protects the run without removing weapon identity |
Use a three-stage upgrade plan
Divide available resources into immediate, conditional, and experimental upgrades. Immediate upgrades should make the current loadout dependable, such as improving the weapon’s core damage or handling. Conditional upgrades prepare for a mission type you encounter regularly, while experimental upgrades remain flexible and can be tested when resources allow.
Stage one covers the upgrades needed for the current mission. Stage two prepares for the next predictable encounter, such as a different range or enemy pattern. Stage three tests a possible specialization without consuming the resources required for a safe baseline. This method is especially helpful when mission availability changes between sessions.
Verify One Change Per Short Run
Changing weapon, upgrade path, and crew composition simultaneously makes it difficult to identify what improved performance. Test one variable during a short run, record the result, and then continue with the next change. Useful notes include the enemy pattern, distance maintained, number of reloads, and whether the setup created a clear opening.
| Test | Change only | Record | Useful result |
|---|---|---|---|
| Damage test | One damage node | Time to defeat a reference target | Confirms whether output was the bottleneck |
| Handling test | One handling node | Misses and repositioning time | Reveals whether accuracy limited damage |
| Weapon swap | Keep upgrade allocation stable | Mission length and survivability | Measures weapon role difference |
| Crew adjustment | Keep personal upgrades stable | Support value and target focus | Shows whether team coverage improved |
Resetting and Reallocating Your GRAVHOUNDS Loadout
A gravhounds reset loadout is valuable when your build no longer matches the missions you play. The reset should represent a deliberate correction, not an excuse to spend points immediately. Decide what failed, select the smallest upgrade path that addresses it, and test the revised setup before treating it as a new baseline.
The available reset process can change between versions, so players should verify current costs and conditions in the live interface. Community feedback often treats resets as inexpensive experimentation during early progression and more deliberate planning later, but reported costs and restrictions may vary by platform or patch.
| Reason to reset | Symptom | Better allocation | Verification |
|---|---|---|---|
| Weapon change | Damage bonuses rarely trigger | Recenter on the new weapon’s useful range | Compare damage during a clean encounter |
| Poor mobility | Frequent damage while repositioning | Shift points into handling or defense | Track missed attacks and damage taken |
| Weak crew support | Another crew member loses useful time | Add utility-oriented nodes | Measure support uptime |
| Over-specialization | Strong first target, slow follow-up | Recover some general efficiency | Test the setup against groups |
| Curiosity | Interest in a new weapon branch | Use a small trial allocation | Keep a known baseline available |
Reset without losing mission knowledge
A reset changes character development, not the lessons learned during previous attempts. Enemy behavior, map knowledge, positioning habits, and crew coordination remain valuable. If you regularly use the core game progression guide, keep that mission knowledge even when the loadout changes; the objective may remain efficient even if the old upgrade priorities no longer fit.
Avoid reset cycles
Rapidly resetting after every failed run creates two problems. It prevents you from learning whether the original build was weak, and it can leave you with no tested configuration when new content becomes available. Give each reset version at least one controlled mission, record its strengths, and identify the next needed change before returning to the upgrade screen.
A practical cycle uses three stages: diagnose the repeated failure, change only the relevant allocation, and test it against the same enemy or route when possible. If the result improves without creating a new weakness, keep the build. This method makes the gravhounds upgrade paths easier to compare and turns experimentation into a repeatable process rather than random spending.
Selecting Upgrades for Different Crew Roles
Your crew composition determines which parts of the skill tree produce the greatest total value. A player focused on personal damage may value a different path from a support-oriented build, while a mixed group benefits from enough flexibility to cover all three crew roles. Build around the mission objective rather than around the most eye-catching weapon bonus.
| Crew focus | Upgrade emphasis | Recommended weapon approach | Typical benefit |
|---|---|---|---|
| Damage dealer | Direct damage and firing efficiency | Reliable general-purpose or favorite specialism | Faster target elimination |
| Support member | Utility, team uptime, and protection | Complementary sidearm or defensive setup | More time for the active damage dealer |
| Balanced member | Handling, survivability, and moderate output | Flexible mid-range option | Fewer weak points across encounters |
| Mixed squad | Cross-role bonuses with limited specialization | One dependable and one complementary weapon | Better coverage without extreme specialization |
Solo and team considerations
Solo players benefit from self-contained upgrades because no teammate can cover a gap in survivability or target pressure. Team players may gain more from utility that improves shared efficiency, but only if communication and positioning allow that utility to be used. A bonus that requires perfect timing is less reliable than a smaller benefit that fits normal combat rhythm.
The best Gravhound and loadout comparison can help identify the role each weapon is likely to fill. Judge it against your crew’s current composition rather than treating it as an isolated ranking, because a strong weapon can become inefficient when everyone selects the same strength.
Keep a fallback for critical moments
A good build includes a fallback for the moment when the preferred route fails. This can be a secondary weapon with different handling, a mobility upgrade, or a survival choice that preserves enough damage to recover. The fallback should not require a completely separate skill tree; it should complement the main path and remain usable without perfect accuracy or uninterrupted positioning.
Damage ceiling measures peak output, while survival margin measures how many mistakes the build can absorb. A balanced crew generally benefits from improving the margin first, then adding damage. If a run repeatedly ends because the crew cannot reach a safe firing position, further damage upgrades will not solve the underlying problem.
Turning Weapon Knowledge into a Complete Build
The strongest build is not the one with the most impressive individual upgrades. It is the setup whose weapon, upgrade path, and crew duties reinforce one another under real mission conditions. Begin with a reliable baseline, identify the most common failure, and invest only in the node that addresses that problem. This approach makes the gravhounds weapon system explained in practical terms: every choice should have a job.
Before the next shift, review the mission, select the relevant distance, select a dependable weapon, and define one fallback. If the current setup no longer fits, use a controlled reset and test the change against a familiar target. The broader weapon upgrade and loadout reference can support that comparison, but the final choice should come from mission results rather than a universal ranking.
| Preparation stage | Decision | Recorded result |
|---|---|---|
| Before upgrades | Choose mission and likely range | Clear role for the loadout |
| Before spending | Identify the most common failure | One primary upgrade objective |
| After testing | Compare performance and stability | Evidence for keeping or revising the build |
| Before reset | Confirm the failure is systemic | No wasted reset cycle |
| Final review | Check crew and fallback coverage | Stable, mission-ready configuration |
The central takeaway is simple: treat the gravhounds skill tree as a decision system, not a checklist. Weapon variety creates options, upgrade paths determine which options become strong, and resets restore control when priorities change. Build deliberately, test one variable at a time, and keep a proven fallback ready for the next shift.
Frequently Asked Questions
Can I reset my GRAVHOUNDS skill tree and change upgrade paths?
Yes, the game includes loadout-reset functionality, although the exact cost and conditions can vary by version. Use a reset when repeated failures show that your upgrades no longer support your weapon or crew role. Keep a tested baseline available, spend only what addresses the recurring problem, and compare the revised build against a familiar target.
What should a balanced mid-shift loadout prioritize?
A balanced setup should cover reliable damage, acceptable handling, and one form of protection or efficiency. Avoid dividing points so thinly that every branch performs poorly, and do not specialize heavily unless your missions require it. For a gravhounds mid shift loadout, test whether the setup maintains pressure against groups and survives repositioning errors without relying on perfect accuracy.
Does weapon variety matter more than upgrading one weapon?
It depends on whether your available weapons cover different combat situations. Variety is useful when ranged, close-range, and group-control options solve different problems, but it becomes a liability if each weapon remains weak. A dependable general weapon plus one complementary specialist often offers a better balance than many partially upgraded choices.
How do I know which upgrade path is causing poor performance?
Change only one relevant node or weapon at a time and compare the result against a familiar target. Record completion speed, damage taken, missed attacks, and reload pressure to identify the real bottleneck. If output rises but survivability falls, the path may need more margin; if damage barely changes, handling or team support could be the actual limitation.
Is a full specialist build better than a generalist in GRAVHOUNDS?
A full specialist can excel when its exact role is available, but a generalist is usually easier to adapt across varied missions. Specialists also demand stronger knowledge of their weapon and upgrade path, because weak performance may become obvious when the preferred target never appears. Test specialist configurations in controlled missions before committing scarce resources to them.