
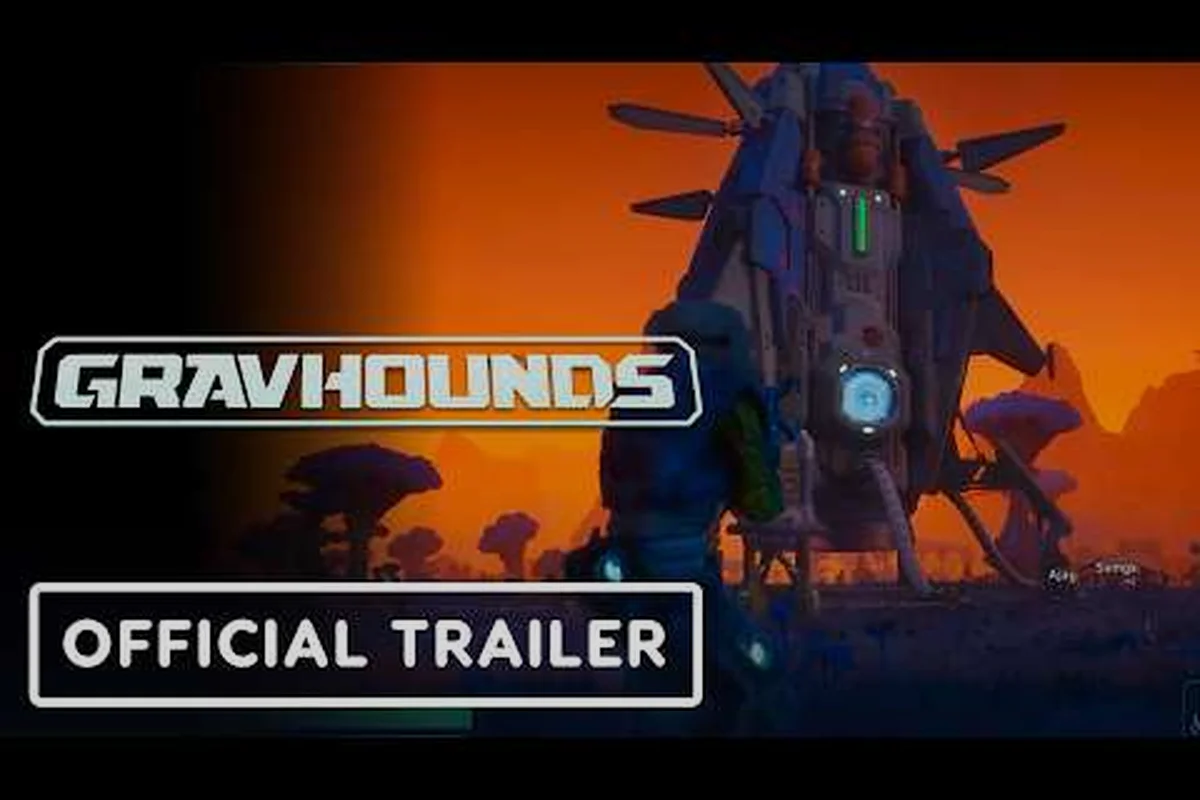
The gravhounds planet map gives every expedition a fresh balance of resources, hazards, and travel distances. Its different gravhounds planet locations expose distinct gravity, terrain, and space-environment conditions, so a short route across one region may consume far more time than a longer transfer through a safer area. Comparing gravhounds planet size with the route between landmarks helps crews select practical landing targets: secure resources before moving, avoid hazardous low-gravity zones when cargo mass is high, and use the planet layout to reduce return trips to extraction points.
GRAVHOUNDS Planet Map: How the Worlds Fit Together
The gravhounds planet map is best understood as a collection of distinct environments rather than one continuous landscape. Each location offers a different combination of terrain, resources, enemy pressure, and useful landing space. That variety changes how a squad approaches a mission, even when the available equipment and extraction goals remain similar.
A useful planet-location checklist includes four questions for comparing GRAVHOUNDS planet locations: whether the landing zone provides open, level ground; whether resource deposits sit close to the chosen route; whether walls, ridges, or chasmas can separate looting lanes from enemy activity; and whether a clear extraction path remains available. Cross-checking these factors against the map reveals why two landings on the GRAVHOUNDS planet layout can lead to very different expeditions: one may place the squad beside a contested deposit, while another may offer safer terrain and a shorter return to the ship.
-
Where will the team land without being immediately boxed in?
-
Which nearby area contains the resources needed for the expedition?
-
How much travel is required between the landing point and the objective?
-
Which escape route remains open if the return trip becomes dangerous?
Thinking about these questions before committing to a landing site makes the gravhounds planet layout easier to use. You do not need to memorize every landmark; instead, recognize the type of terrain each location provides and select the route that matches your current goal.
| Map consideration | What to inspect | Why it affects the run |
|---|---|---|
| Landing clearance | Open, level ground | Reduces immediate enemy contact |
| Resource proximity | Deposits near the route | Lowers time spent traveling |
| Terrain separation | Walls, ridges, chasms | Creates safer looting lanes |
| Extraction access | Clear route back to the ship | Supports a controlled retreat |
| Enemy density | Activity around key areas | Indicates likely contested zones |
The central value of the map is not simply seeing more of the planet. It is reducing uncertainty. A route that looks short on the minimap may force the squad through a hazard zone, while a slightly longer path may lead directly to the materials needed. The best expedition route is the one that balances travel time, safety, and collection efficiency.
Planet Layouts and Landing-Site Logic
Different gravhounds space environments present navigation problems in different ways. Open terrain may make distant landmarks easier to identify, but it can also expose the squad to long-range threats. Tight formations offer better cover, although a poor entrance can trap a team inside a confined area.
Reading open terrain
Open environments are useful when your priority is rapid resource gathering. Their visibility lets a team spot distant objectives and create a straight travel plan. The tradeoff is limited natural cover, so players should avoid crossing exposed areas without first checking the surrounding ridges and elevated ground.
During a drop, identify the primary navigation line from the landing point to the richest resource cluster. Then locate a secondary escape line that offers different angles of approach. These two lines prevent every retreat attempt from becoming a predictable journey back through the same dangerous corridor.
Reading enclosed terrain
Enclosed areas reward slower scouting. Walls and narrow passages can block enemy sightlines, but they also reduce the number of directions from which a squad can fire. Before entering, check the exit behind the group and identify alternate routes around major obstacles.
Player reports commonly describe enclosed locations as valuable when the team understands the choke points in advance. That makes them especially effective for focused extraction, although searching every corner can consume a large share of the mission time. A balanced scouting interval means checking nearby approaches while still preserving time for the main objective.
| Terrain type | Navigation advantage | Main risk | Strongest use |
|---|---|---|---|
| Open plain | Fast movement and long sightlines | Exposed approach | Quick collection |
| Rocky field | Clear breaks in elevation | Uneven travel speed | Balanced gathering |
| Narrow passage | Natural cover and fewer entry angles | Restricted retreat | Close-range control |
| Broad basin | Many possible routes | Easy to lose the team | Flexible objectives |
| Elevated ground | Early threat detection | Slower ascent | Overwatch and scouting |
Because gravhounds planet locations differ in shape, the fastest route on the gravhounds planet map may not resemble the fastest route elsewhere. Treat each site as a sequence of landmarks: land at a defensible arrival point, orient using nearby terrain cues, select the objective, secure the shortest viable route, and keep an exit open for the return. For example, a narrow passage can shorten the approach to an objective but becomes dangerous if the team commits without preserving its retreat through the choke point.
Planet Locations and Resource Priorities
Resource targets can make one part of a map much more valuable than another. The resource-first route concentrates on gathering materials and avoiding unrelated objectives, while the objective-first route reaches a required location quickly and collects useful materials along the way. Which approach is better depends on the expedition’s time limit, vehicle condition, and current load capacity.
A strong squad should separate visible resources from likely resource areas. A deposit directly beside the landing site may save travel time, yet a larger cluster near the objective can provide a better total haul. Location quality depends on travel time, extraction risk, and carrying capacity rather than density alone.
| Priority | Best route pattern | Main benefit | Watch for |
|---|---|---|---|
| Quick materials | Land beside a deposit | Immediate access | Limited long-term value |
| Dense gathering | Follow a cluster of nodes | Higher total yield | Longer exposure |
| Mission stability | Move straight toward the objective | Earlier completion | Fewer optional resources |
| Cargo protection | Visit a moderate cluster near extraction | Lower late-run risk | Missed distant resources |
| Resource comparison | Scout two nearby clusters | Better route choice | Time spent observing |
Before leaving the ship, mark the intended resource area, extraction point, and one fallback location. This simple routine reduces backtracking because every player understands the current goal. It also makes the gravhounds planet locations easier to share with co-op teammates, since the team can discuss landmarks rather than vague descriptions.
If your squad values exploration more than immediate extraction, compare the environmental clues described in the planet biomes overview. Terrain, hazards, and material patterns often work together, allowing the team to identify promising areas without visiting every deposit.
Planet Size, Travel Time, and Route Efficiency
Although the gravhounds planet size affects the journey between objectives, the practical measure is the time cost of the route rather than the map’s visual span. Distance alone does not reveal whether a team can cross a hazardous area safely or reach the extraction point before its condition declines.
Calculate a route in three layers by measuring the walking distance from the landing zone, adding the objective detour to each required target, and then including the extraction distance back to the ship. For example, a nearby deposit may add little to the objective detour, while a ridge crossing or a resource cluster on the far side can sharply increase travel exposure. Treating the route as one total distance helps crews compare actual mission cost instead of choosing a landing point based only on the map’s visual size.
-
Walking distance covers movement within the landing zone.
-
Objective detour covers the travel required to reach a required target.
-
Extraction distance covers the final return to the ship.
A compact area can still create a long mission if the objective sits across a ridge and extraction requires a circular route. Conversely, a large map may be efficient when the key resources form a compact cluster. The effective route length combines these layers and should drive the landing decision.
| Route factor | Short route | Long route | Better choice when |
|---|---|---|---|
| Travel exposure | Less time outside cover | More time visible | Cargo is fragile |
| Resource yield | Fewer nearby deposits | More possible targets | Time is limited |
| Retreat pressure | Quick return to ship | Longer final approach | The squad is under-equipped |
| Navigation risk | Fewer turns or crossings | More hazards and forks | Vehicles remain reliable |
| Team coordination | Fewer shared positions | More regrouping points | New players need support |
Travel estimates should include short stops. Opening a container, scanning a material pile, or fighting an enemy adds time even when the squad remains in the same place. Players who budget for those pauses can avoid selecting a route that appears efficient on the minimap but becomes exhausting in practice.
For a broader look at route planning, compare the planet rotation and unlock order, since each unlock can alter which gravhounds planet layouts, resource sites, and landing areas are available. For example, a crew may secure a compact deposit cluster on an accessible world, then revisit that same map after a rotation with a different target location and lower travel exposure. Checking rotation order against the route-factor table helps teams decide when a planet’s size, hazards, and extraction distance make it more efficient than moving to another world.
Gravhounds Planet Variety: Adapting to Different Environments
The gravhounds planet variety matters because each world can change the preferred route, risk pattern, and order in which a squad gathers materials. Variety should not be treated as random decoration. It creates meaningful differences between destinations and gives players several valid strategies for the same expedition.
Match equipment to the environment
Consider the threats already visible before selecting a landing point. Open ground may favor mobility and longer sightlines, while enclosed terrain rewards prepared movement and close control. The same loadout can perform differently on separate worlds, so equipment and route should be evaluated together.
A practical environment-fit assessment uses four observations: the planet layout, nearby locations, available cover, and the space between those points. Compare the gravhounds planet size with the squad’s remaining travel window: a broad map may expose long sightlines but stretch recovery time, while a compact world can make extraction routes predictable. Record which gravhounds planet locations connect through open corridors or enclosed passages, since that relationship determines whether a fast route is worth the reduced visibility.
-
Can the team keep cover while traveling?
-
Are enemy paths visible before they reach the squad?
-
Is there more than one usable extraction direction?
-
Does the cargo requirement favor speed or capacity?
Do not force one perfect strategy across every destination on the gravhounds planet map. A compact world with short links between gravhounds planet locations may favor a quick collection run, since the squad can cross open corridors before enemy patrols reposition. A larger map with longer sightlines and greater recovery distances often rewards careful movement, cover-to-cover routing, and staged extraction. Use the gravhounds planet layout, available cover, and travel window together: if the map compresses distance but exposes exposed crossings, speed helps only when the squad can preserve its cargo and leave before contact.
Use landmarks as shared references
Landmarks are valuable because they reduce communication time. A tall formation, unusual structure, or clearly visible ridge can serve as the squad’s meeting point after a temporary separation. Assign simple callouts based on appearance and direction, avoiding labels that depend on player names.
Compare the location types discussed in the easiest planet difficulty guide. Even relatively approachable worlds can become difficult when the squad separates, overextends its route, or carries more cargo than it can protect. Preparation preserves the advantage of choosing a safer destination.
| Scenario | Recommended adaptation | Why it works |
|---|---|---|
| Broad exposed landing area | Move to nearby cover first | Prevents early contact |
| Dense resource cluster | Clear the surrounding approach | Protects the main haul |
| Narrow approach with several exits | Create a layered defense | Uses terrain advantages |
| Long final route to the ship | Gather cargo earlier | Reduces late-run exposure |
| Unfamiliar terrain | Establish a landmark chain | Keeps the squad together |
The strongest adaptation is the one the whole team can execute on the gravhounds planet map. A slightly less ambitious route that everyone understands is usually better than an ideal route requiring perfect communication and immediate mastery of unfamiliar terrain. For example, if the squad cannot reliably navigate a narrow approach with several exits, moving to nearby cover before touching the resource cluster reduces the chance of early contact. On a large planet with broad exposed landing areas, collecting cargo in manageable stages also limits the distance each player must protect, making the safer destination more practical than a longer, higher-risk sweep.
A Five-Step Expedition Planning Routine
A repeatable routine turns the gravhounds planet map from a background display into an active decision tool. The goal is not to eliminate every risk, because GRAVHOUNDS expeditions are inherently dangerous; it is to choose risks that match the squad’s preparation and objective.
Step 1: Select the mission priority
Decide whether the run emphasizes rapid extraction, maximum material collection, or reaching a required location. Each priority benefits from a different route. A cargo-heavy run favors short loops, while an exploratory run can accept a longer path when the potential reward justifies it.
Step 2: Compare two landing approaches
Look for at least two viable landing zones near the intended objective. Compare their route efficiency, visibility, and access to resources. Choosing the second-best position can be wiser than fighting for the closest one if it provides a cleaner escape route.
Step 3: Build a three-point route
Mark the landing point, primary target, and extraction point on the GRAVHOUNDS planet map, using distinct labels that remain legible against terrain icons, resource nodes, and other markers. If the planet layout provides an alternate route, shelter, or extraction beacon, add it as a fallback marker rather than leaving it as an untracked possibility. Confirm these GRAVHOUNDS planet locations with the squad before movement begins, because shifting between a mined site and the extraction zone can turn a straightforward three-point route into a costly detour.
Step 4: Set collection thresholds
Assign some teammates to collect resources while others cover the approach to the gravhounds planet location, giving the squad a clear point at which gathering stops and extraction begins. For example, if the map reveals a nearby deposit but a hostile zone blocks the safest route, the team can choose to secure the approach before collecting anything. This threshold prevents cargo protection from being postponed until every accessible deposit has been exhausted, preserving capacity and reducing exposure when leaving the planet surface.
Step 5: Reassess before committing
Watch the first moments after landing. If enemies control the intended path or the extraction route is blocked, use the fallback instead of forcing the original plan. Flexibility matters because even a good gravhounds planet layout can change when another squad, environmental hazard, or moving objective disrupts it.
| Planning stage | Decision | Useful marker |
|---|---|---|
| Mission priority | Resource, objective, or extraction | Primary run goal |
| Landing comparison | Best and backup option | Two initial targets |
| Route design | Start, activity, exit | Three-point route |
| Collection plan | Gather and protect roles | Shared threshold |
| Live reassessment | Continue or redirect | Fallback marker |
This routine is also useful when establishing a permanent outpost. Once a site is selected, use the base placement and turret guide to evaluate nearby resources, approach lanes, and defensive positions around the landing area.
Reading the Planet Map Before and During a Drop
The map should be checked twice: before choosing a destination and again after landing. The first pass supports strategic selection, while the second provides live corrections. The official GRAVHOUNDS gameplay overview on YouTube offers a useful visual reference for the game’s broader planetary exploration structure, while the map itself remains the primary tool for route decisions.
Before landing
Check the destination against the mission requirements, available cargo capacity, and squad equipment. Look for a landing site with more than one direction of travel. Avoid choosing a visually dramatic location when it offers only a single entrance into a hazardous area.
Immediately after landing
After landing, orient the team before opening the first container by identifying the ship, the intended resource area, and the probable route to extraction. Compare the gravhounds planet map with local landmarks, since perspective can compress the apparent distance between distant formations. Use the map’s planet layout to distinguish a nearby extraction route from a richer but riskier resource zone, then check nearby locations before committing the team to a single path.
During collection
Update the route when the team’s position changes. Mark a high-value cluster only after confirming that it can be reached without splitting the squad. If cargo capacity becomes the limiting factor, prioritize safe collection over distant nodes and prepare the return route earlier.
| Map moment | Key question | Corrective action |
|---|---|---|
| Destination selection | Does this world fit the mission? | Compare a backup planet |
| Landing | Is the team boxed in? | Shift toward open escape lines |
| First objective | Can all members regroup? | Establish a landmark |
| Resource phase | Is the haul worth the exposure? | Apply the collection threshold |
| Return phase | Is the exit still secure? | Use the fallback route |
The gravhounds planet map becomes operationally useful when its entries are treated as changing expedition conditions rather than fixed coordinates. For example, a team can confirm a planet’s layout from the destination-selection checkpoint, then recheck that the landing zone still preserves an open escape line after the squad’s position changes. If the resource phase produces more cargo than capacity allows, the map should support dropping the most distant, lowest-priority node rather than forcing a split. This does not guarantee a flawless run, but it reduces avoidable exposure; sound communication and timely decisions still handle uncertainty that the planet map cannot resolve.
Frequently Asked Questions
How do I read the gravhounds planet map efficiently?
Begin with your mission priority, then compare two nearby landing zones. Look for a landing point with multiple exits, a clear line toward the objective, and resources that do not require a long detour. After landing, confirm your position against a visible landmark and preserve a second route to the ship.
Which planet layout is best for beginners?
A compact layout with several open approaches and nearby resources is usually easier to manage. Avoid an isolated landing site or a narrow route with only one exit. The squad should also choose a world where enemies can be observed before they close the distance, since early visibility makes mistakes less costly.
Where should a squad land to collect the most resources?
Land near a cluster of material nodes rather than one isolated deposit, but verify the route and surrounding terrain first. A dense cluster can increase the total haul, yet it may attract more enemies. The strongest option balances nearby yield with a protected extraction route.
Does planet size determine the length of a mission?
Not by itself. The gravhounds planet size affects travel, but mission length also depends on the objective, collection pace, enemy encounters, and the distance from the final resource area back to the ship. A large world with a compact objective route may finish faster than a smaller world crossed under pressure.
How does environmental variety affect expedition planning?
Each environment changes which routes are practical. Open terrain can shorten travel but expose the squad, while enclosed areas provide cover but may restrict movement. Successful planning matches the route and loadout to the local terrain, then adjusts the collection threshold according to the mission’s remaining time.